Creating your launch
Set up a UNCX Stealth Launch with token and AMM selection, liquidity amounts, launch timing, lock duration and project details.
Guide
Section titled “Guide ”In order to create your launch, open https://app.uncx.network/stealth/explore.
On the “Explore” page, select the green “Create” button on the right side of the screen.
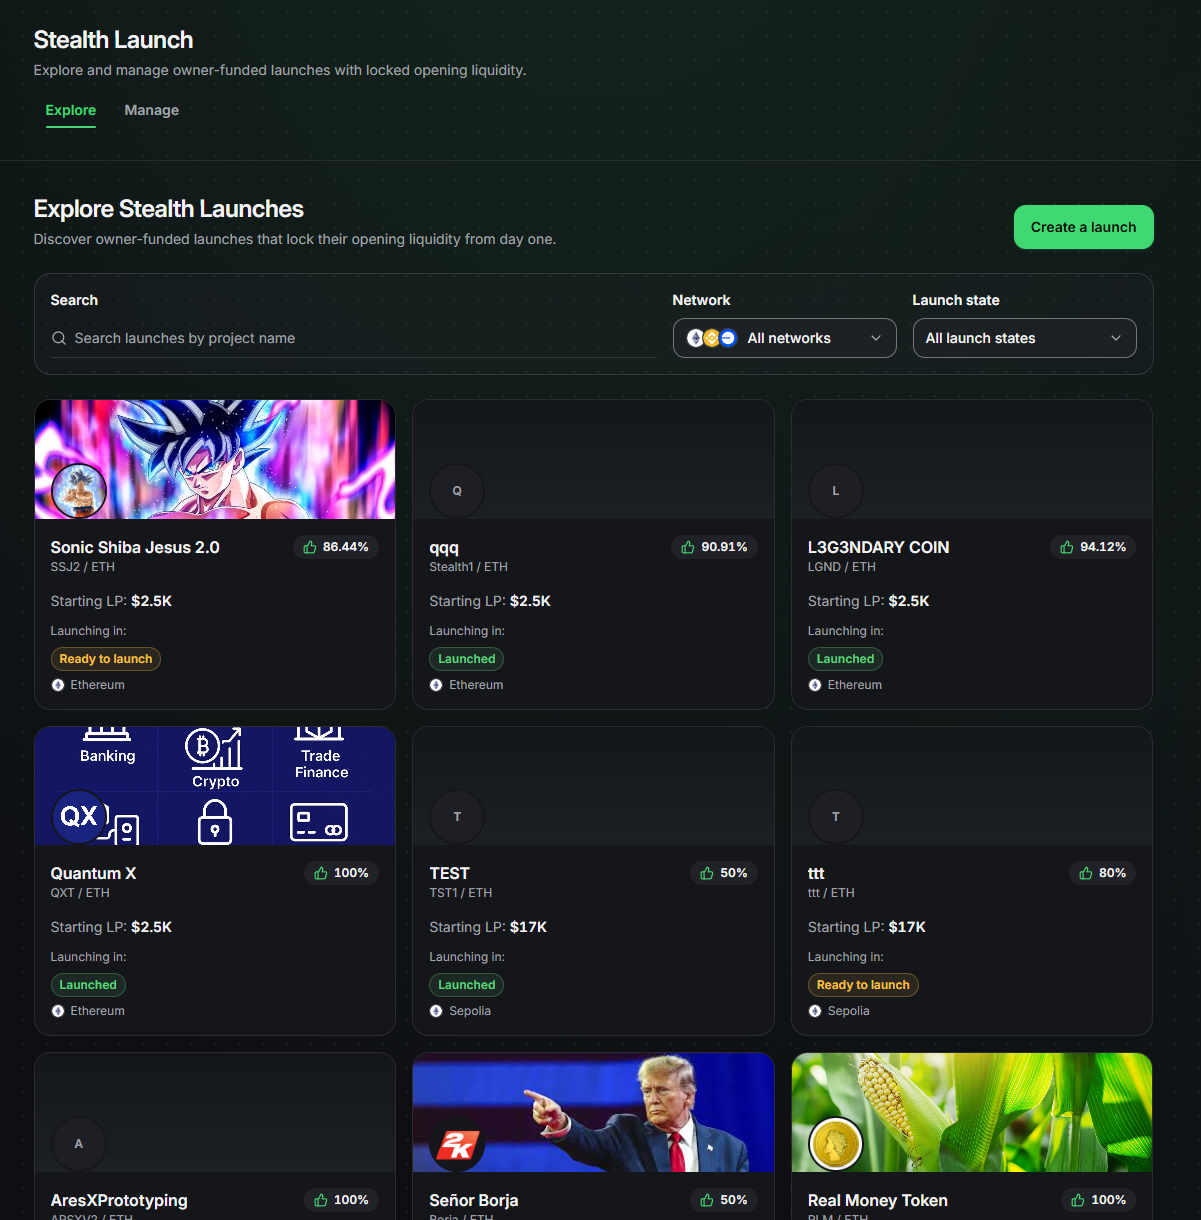
You will be taken to the product overview. From here you can manage all of your launches and create new ones. Select the “Create a launch” button.
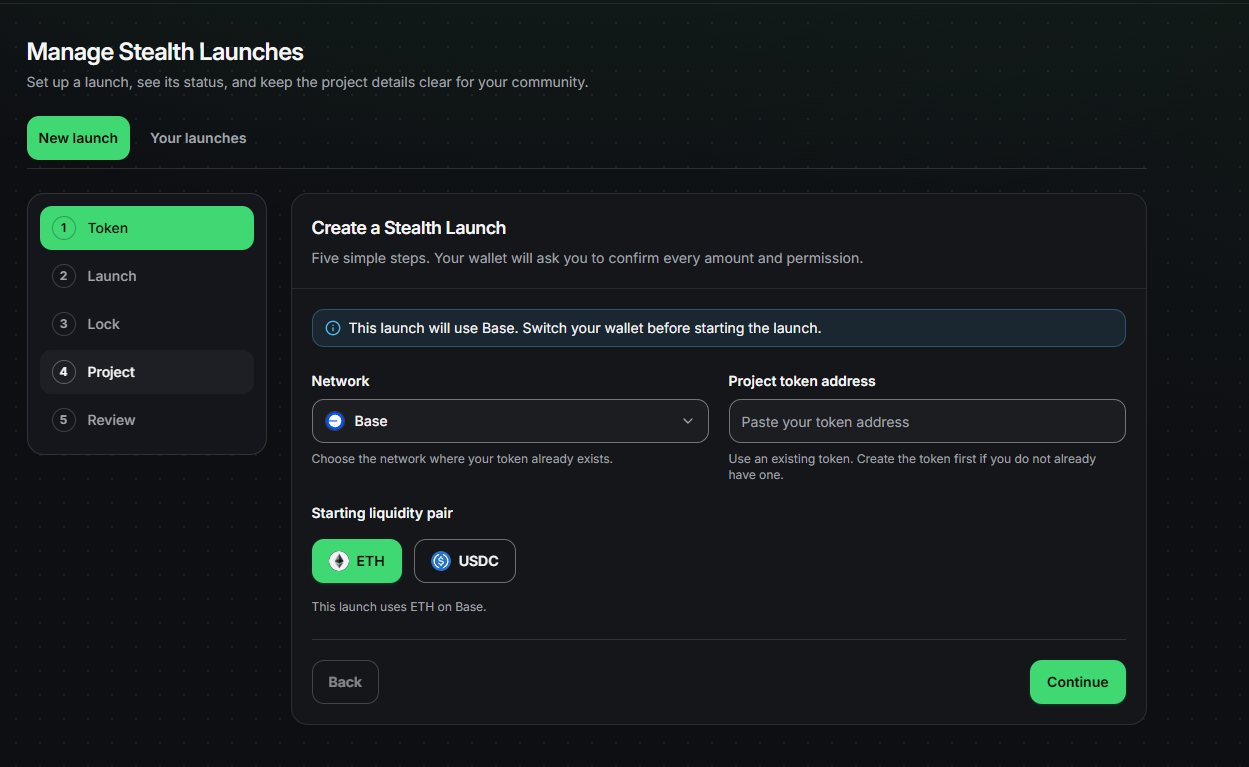
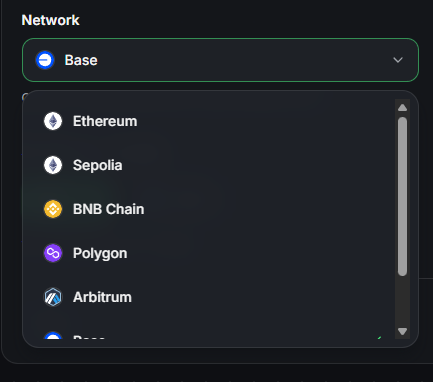
First you have to select the chain you want to launch on from the dropdown menu.
The next step is selecting:
- Token address of your token
- Asset that your token will be paired against (gas token or USDC)
- Information about taxes on your token (YES/NO; it affects your ability to launch on Uniswap V3, as Uniswap V3 does not support tokens with taxes)
- The AMM you want to launch on
After filling those information in, select “Continue”.
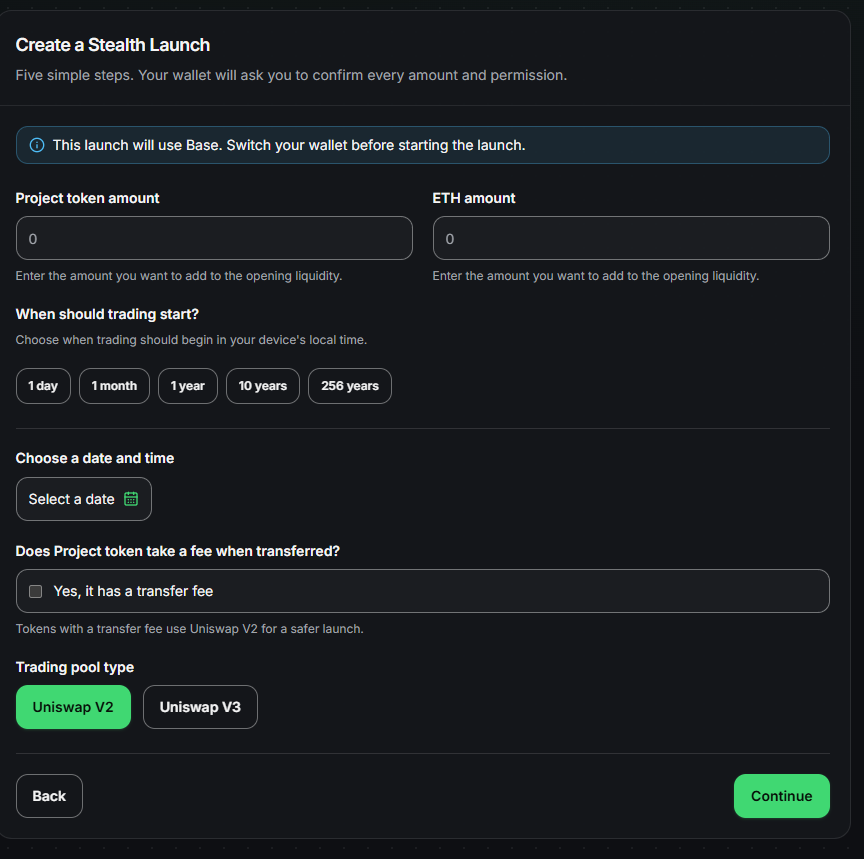
In the next step you have to input:
- The number of your tokens that you want to add to the pool
- The number of the paired asset that you want to add to the pool
- The launch date
After filling those information, select “Continue”.
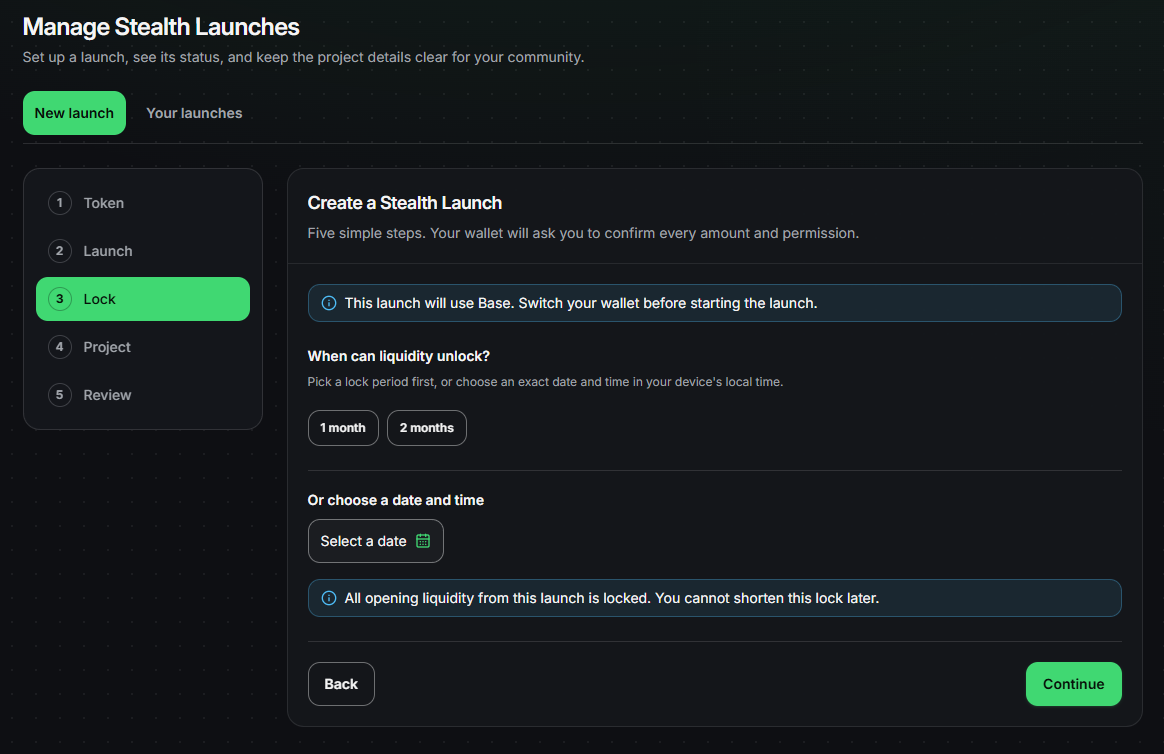
In the next step you have to select the unlock date of your liquidity lock. The minimum lock time is 30 days after your launch date.
After choosing the date, select “Continue”.
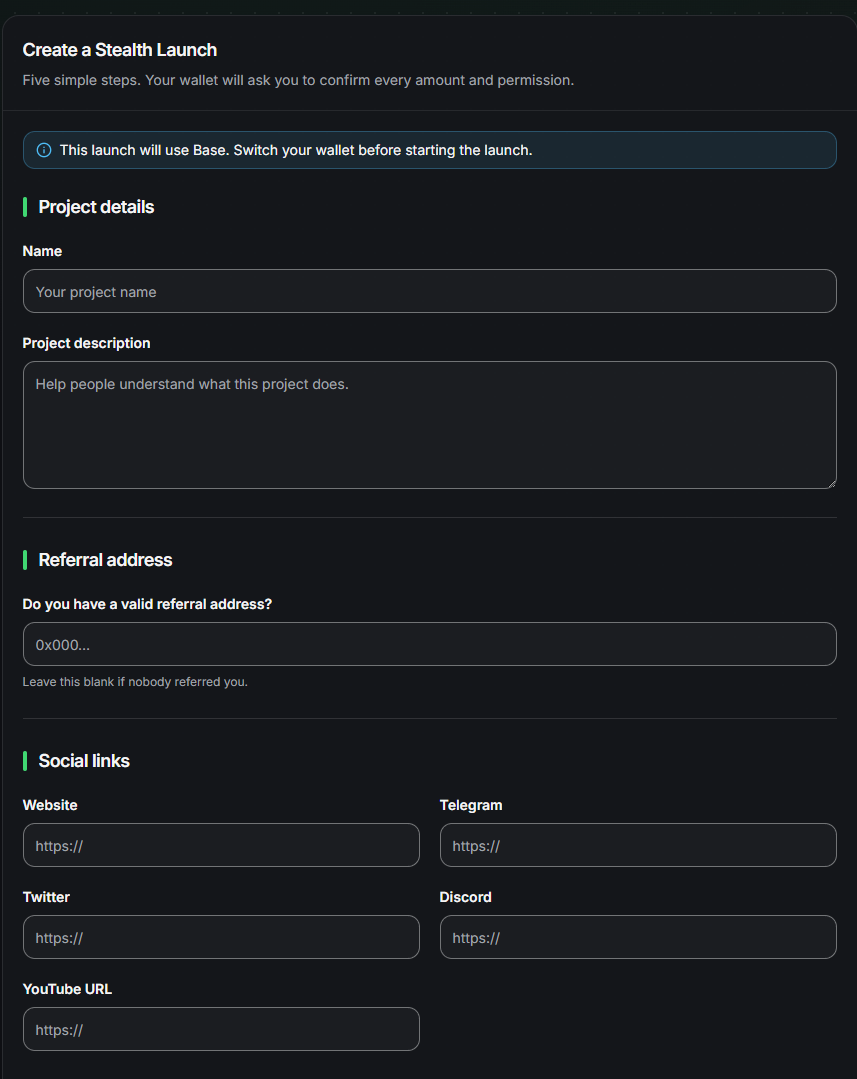
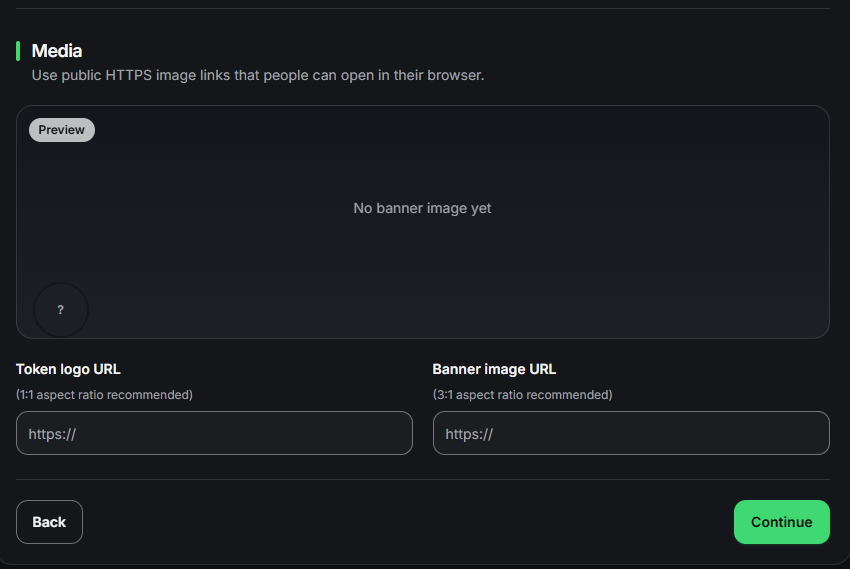
On the next page you will enter your project details. That includes:
- Your project’s name (REQUIRED)
- Your project’s description (REQUIRED)
- Referral Address
- Social Media Links
- Website link
- Telegram link
- Twitter link
- Youtube link
- Token logo
- Banner image
All of the information above can be edited after the launch creation.
Proceed by selecting “Continue”.
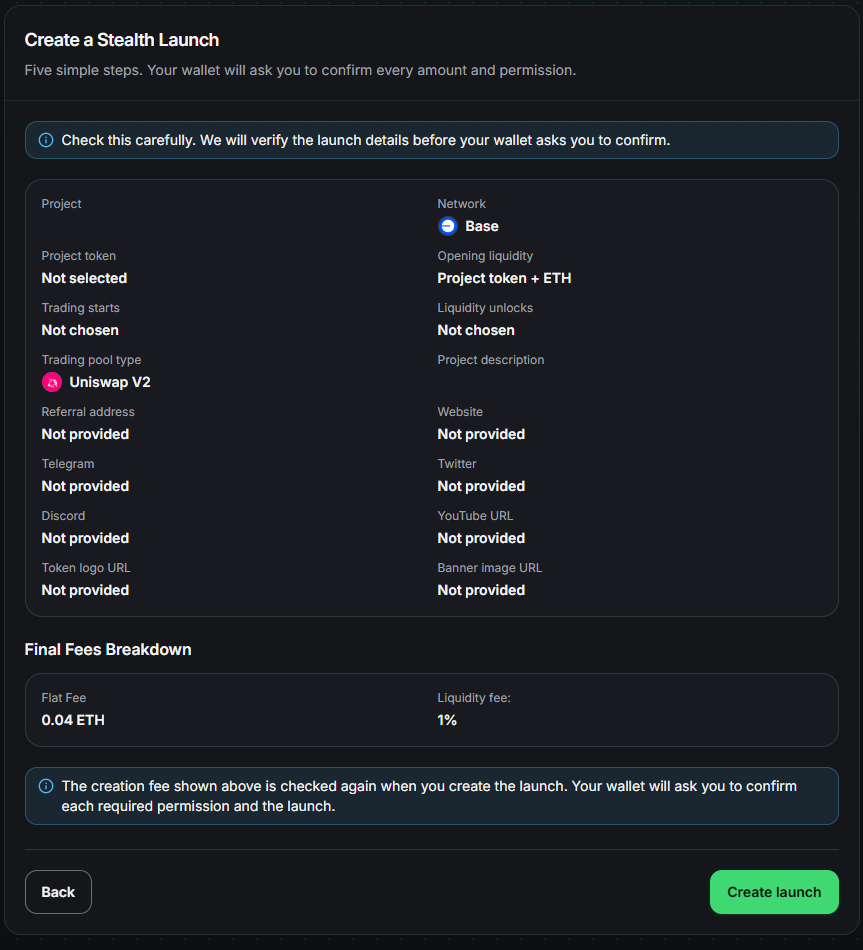
On the “Preview” page you will see all the details you have selected for you to double-check, including:
- Your project’s name
- Your project’s description
- Selected chain
- Selected AMM
- Total supply of your token
- % of your supply going to the liquidity
- The unlock date
- Contract address of your token
- Breakdown of the fees
Select “Create” to proceed.
After selecting the “Create” button, you will be asked to:
- Approve your tokens
- Pay the fees
- Sign a signature in your wallet
That’s it, your launch was created!